Content Strategy
8 min read
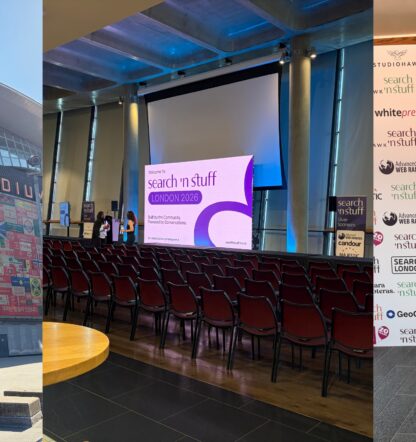
Search ‘n Stuff June 2026: The main C3 takeaways
Connective3 went to Search ‘n Stuff’s first-ever UK conference at Emirates Stadium in June, learning from some of the best SEO experts in the industry. This blog will run through a couple of the key takeaways from the event.